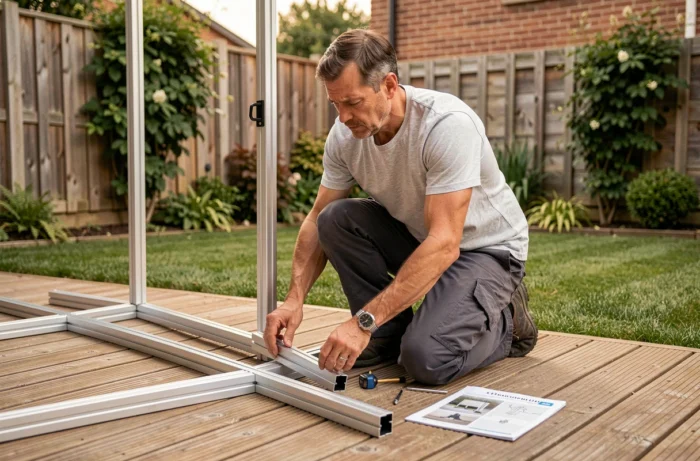
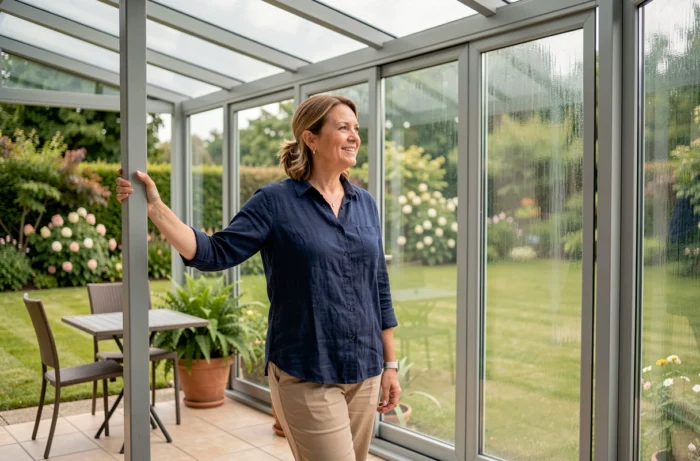
We all have in mind the image of a bright conservatory opening onto the garden, assembled in a weekend using a kit purchased from a DIY superstore. The reality of the project begins well before assembly: it is the condition of the slab, the type of anchoring, and the urban planning procedures that determine the final result. Installing a Brico Dépôt conservatory kit requires preparation that the assembly instructions do not always detail.
Slab, anchoring, and flatness: what determines the success of the kit
Even before ordering, we go down to ground level. A conservatory kit rests on a concrete slab, and the flatness of this slab determines everything else. A deviation of a few millimeters over several linear meters is enough to distort the plumb of the posts, jam the sliding doors, and create leaks as early as the first rainy season.
The point that price articles often overlook is the anchoring. Kits delivered at superstores generally provide plates to be fixed to the ground. If the slab is old, cracked, or poorly reinforced, these plates will not withstand wind loads. It is recommended to check the thickness of the slab (sufficiently thick to accommodate heavy fixing anchors) and to ensure there are no rising damp issues.
For those starting from bare land, pouring a suitable slab represents a budget item that should not be underestimated. This is not just a simple terrace: the slab must be level, properly insulated from the ground by a polyethylene film, and sized to slightly exceed the footprint of the structure. A comprehensive guide on the Brico Dépôt conservatory kit details these technical prerequisites often neglected in product sheets.
Conservatory kit or closed pergola: what Brico Dépôt really offers
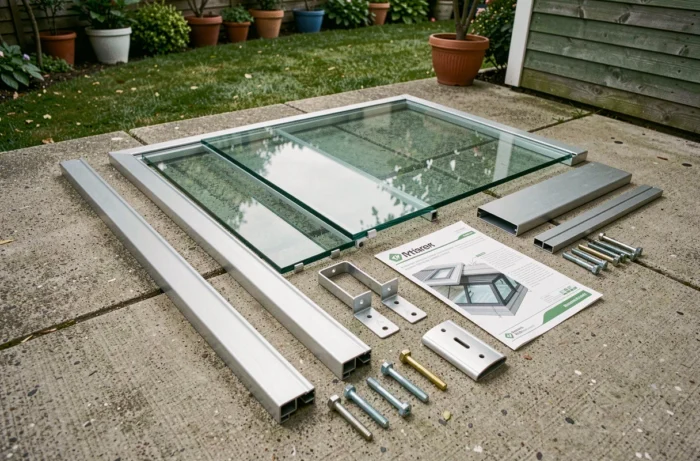
One point deserves clarification. Brico Dépôt mainly sells pergolas, shelters, and lightweight extensions in its garden sections. The closed and glazed conservatory, with thermal insulation and a solid roof, does not constitute the core of their catalog. You can find aluminum structures with polycarbonate roofing, attached pergolas, and sometimes kits resembling a conservatory, but rarely a product equivalent to what specialized conservatory builders offer.
This distinction changes the framing of the project. A pergola enclosed by removable walls does not provide the same insulation as a conservatory with double glazing and thermal bridge break. If the goal is to create a living space usable all year round, it is essential to precisely check the characteristics of the kit before purchase:
- The provided glazing (single, double, polycarbonate) directly affects thermal comfort in both winter and summer
- The thermally coated aluminum structure lasts longer than PVC, but PVC kits remain significantly cheaper to purchase
- The roof made of polycarbonate panels allows light to pass through, but without a blind or protection, summer overheating makes the space unusable during hot hours
Consulting the technical description in-store (not just online) allows you to verify what is actually included: seals, screws, waterproofing flaps, gutter. Feedback varies on this point, with some buyers reporting missing or non-compliant parts upon receipt.
Urban planning procedures for a conservatory kit: declaration or building permit
Installing a kit does not exempt you from formalities. A prior declaration of work is mandatory for surfaces created between 5 and 20 m². Beyond 20 m², a building permit is required. In areas covered by a local urban planning plan (PLU), the threshold can rise to 40 m² for constructions attached to an existing building, but only if the total surface after work remains below a certain ceiling.
It is often forgotten that the conservatory, even in kit form, increases the taxable area of the home. The development tax applies, with a fixed value per square meter that varies according to location (higher in Île-de-France than in the provinces). This cost adds to the price of the kit and can represent a significant sum for an area of 15 or 20 m².
Check the PLU before choosing the location
The PLU may impose constraints regarding setbacks from property boundaries, maximum heights, or colors of joinery. A kit refused by the town hall after purchase cannot be returned on the grounds of non-compliance with urban planning. It is advisable to submit the prior declaration before placing the order, not after.
Assembly of a conservatory kit: actual level of difficulty and common mistakes
Instructions indicate assembly in two to three days. On-site, it becomes clear that this timeframe assumes two experienced people, complete tools (impact drill, laser level, clamps, stable ladder), and cooperative weather. Alone, the project becomes risky as soon as the top beams are installed.
The most common mistakes do not concern the assembly itself, but what surrounds it:
- Neglecting the waterproofing between the house wall and the structure, which causes leaks at the roof-wall junction
- Tightening the glazing screws too much, which cracks the polycarbonate or deforms the seal
- Forgetting the minimum slope of the roof for rainwater drainage, which creates stagnant water pockets in winter
- Not leaving expansion gaps on the aluminum profiles, which move with temperature variations
Waterproofing at the wall-to-roof junction remains the critical point of any attached conservatory. A silicone seal alone is not sufficient: a lead or zinc flashing embedded in the wall, with adequate overlap, is necessary. If the kit does not include this piece, it must be ordered separately or made by a roofer.
Overall budget for a conservatory kit: beyond the displayed price
The price of the kit represents only part of the actual budget. You need to add the slab (if it does not exist), additional fixings, peripheral waterproofing, development tax, and possibly installation by a professional if the project exceeds available skills.
PVC kits display the lowest prices, with an estimated lifespan of ten to fifteen years. Aluminum costs more to purchase but lasts longer and does not yellow. The savings from a kit compared to a conservatory installed by a craftsman is about 30%, provided you master the installation and do not have to correct mistakes.
Requesting multiple quotes remains relevant, even for just the preparation of the slab. A local masonry contractor will accurately price the slab, and this item determines the strength of the entire structure for years. The cheapest kit loses all its appeal if it rests on an unsuitable support.