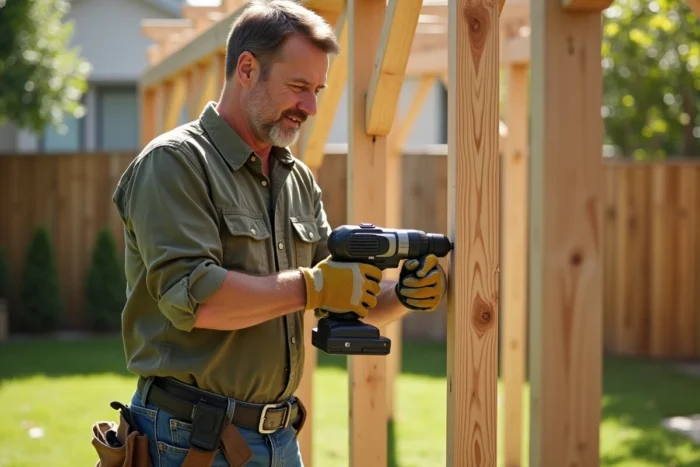
A wooden pergola kit can be assembled by two people in one day, provided that they master a few technical points that the manufacturer’s instructions do not always detail. The assembly of a wooden pergola relies on three fundamentals: a perfectly level ground, suitable fixings for the existing support, and sufficient bracing to withstand the wind. Neglecting any of these three elements compromises the stability of the entire structure.
Adjustable plates and fixing wooden posts: the method that replaces sealing
Most guides still show posts directly sealed in concrete. This technique exposes the wood to moisture rising by capillarity, which accelerates rotting at the base, even on pressure-treated wood.
Recent kits sold in DIY stores now include adjustable galvanized metal plates. These pieces are fixed onto a concrete block or an existing slab, and the post is bolted on top. This keeps the wood out of water, with a gap of a few centimeters between its base and the ground.
When assembling a Brico Dépôt wooden pergola, check that the plates included in the kit are indeed adjustable in height. If not, universal plates with threaded rods can be found in the hardware section for a few euros. They allow for correcting a support flatness defect of up to two centimeters.
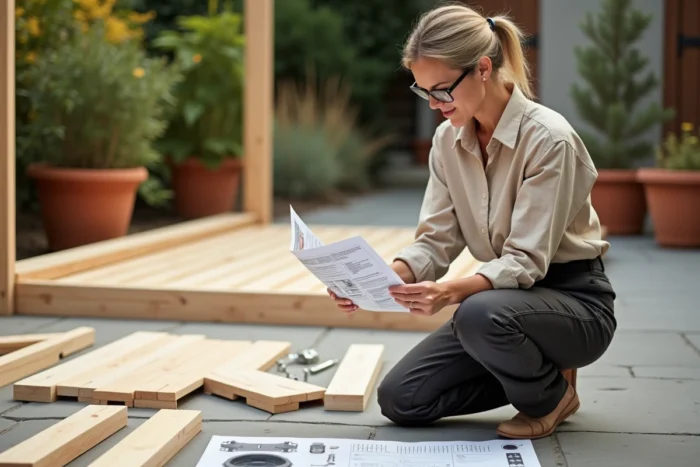
Bracing the wooden pergola: the point that instructions ignore
A pergola kit delivers four posts, crossbeams, and rafters. Assembled without diagonal reinforcement, the whole forms a deformable parallelogram. The slightest lateral gust makes the structure sway, and the fixings work in shear until they give way.
Bracing involves stiffening the structure by adding diagonal or triangular elements. Two practical solutions work on a wooden pergola:
- Reinforced metal brackets (not simple shelf brackets) bolted at the post-crossbeam junction, with through bolts of sufficient diameter for the wood used.
- Wooden struts, cut at 45 degrees, screwed between the post and the supporting beam. They take on lateral forces and provide a more finished appearance than visible brackets.
- Saint Andrew’s crosses made of tensioned stainless steel cable between two opposite posts, a discreet solution that does not visually weigh down the structure.
Without bracing, a wall-mounted pergola holds better than a freestanding one, because the wall blocks movement in one direction. A freestanding pergola without bracing is structurally unstable.
Assembly of crossbeams and fasteners: common mistakes with wooden kits
The fasteners supplied in a kit deserve inspection before assembly begins. Separate the screws by type and count them against the list in the instructions. It is common for a handful of screws or bolts to be missing, and discovering this halfway through can halt the project.
Prefer stainless steel or bichromated fasteners for any fixings exposed to the elements. Black phosphated screws, sometimes included in entry-level kits, rust within months and leave streaks on the wood.
Order of assembly for crossbeams
The main supporting beams are placed first, perpendicular to the wall if the pergola is wall-mounted. They rest on the posts and are fixed with through bolting. The rafters come next, perpendicular to the beams, and are fixed from above with long screws or metal brackets.
Each drilling or cutting done during assembly exposes raw wood, unprotected by the original pressure treatment. Apply a treatment product to each cut edge and each drilled hole before assembling the pieces. This precaution takes ten minutes and significantly extends the lifespan of the structure.
Treatment and maintenance of wood after installation
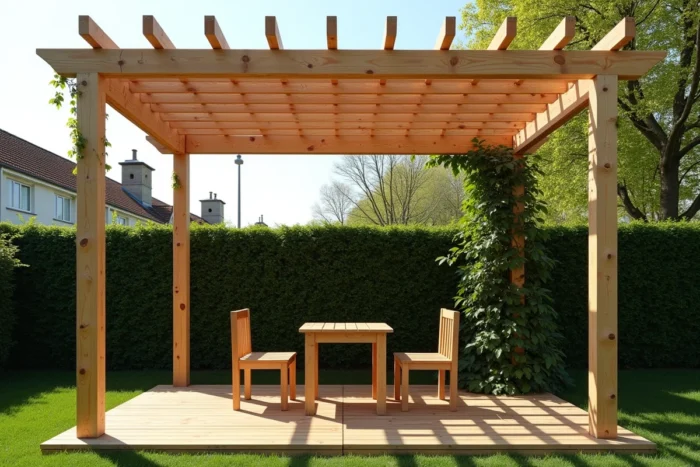
Class 3 or 4 pressure-treated wood resists fungi and insects, but not graying. Without maintenance, the pergola takes on a silver-gray hue within months. This is not a structural defect, but an aesthetic change that many homeowners do not anticipate.
To maintain the original color, apply an exterior wood saturator in the weeks following assembly. The saturator penetrates the fibers without forming a surface film, preventing peeling. An annual cleaning with a broom followed by a new layer of saturator is enough to maintain the wood’s appearance.
Avoid using a pressure washer on softwood: the jet tears out the soft fibers and creates grooves where water stagnates. A simple bucket of warm water with a mild wood terrace cleaner yields better results without damaging the surface.
Annual inspection of fixings
Wood works with variations in temperature and humidity. After a year, some through bolts may loosen by a few turns. A systematic check with a ratchet wrench on each assembly, once a year in spring, prevents mechanical play from amplifying.
The last point to monitor remains the foot plates: check that the base of the posts does not sit in a stagnant puddle after heavy rains. If so, raise the plates or create a slight slope around the feet to drain the water. A well-assembled and properly maintained pergola retains its strength for many years without heavy intervention.