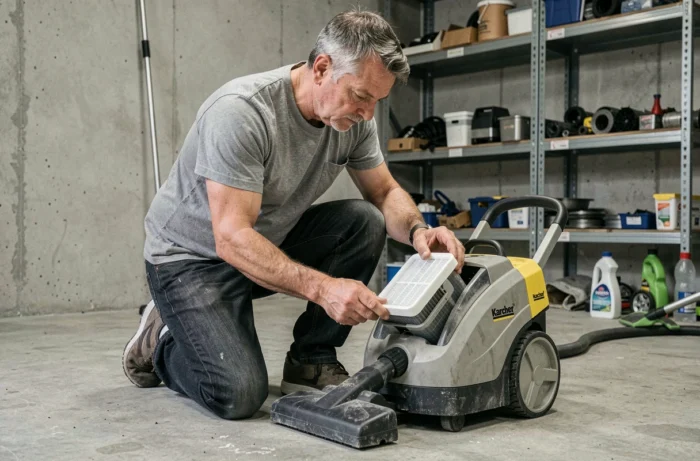
Your Kärcher WD4 is not suctioning as well as before, makes an unusual dull noise, or emits a smell of warm dust upon startup. In most cases, the problem comes from the filter. A clogged filter forces the motor to work harder, reduces suction power, and can even release fine particles into the ambient air. A few simple steps, done at home without specialized tools, are enough to restore the device’s efficiency.
Kärcher WD4 Flat Pleated Filter: Understanding Its Specificity
You may have noticed that your WD4 switches from dry dust suction to liquid suction without changing the filter? This is the specificity of the flat pleated filter mounted on the WD4 models: it is designed for mixed use of water and dust.
This versatility has a direct consequence on maintenance. The folds of the filter retain both fine particles and residual moisture. When both accumulate, clogging gradually sets in. The filtration surface decreases, and the motor compensates by forcing.
The techniques for cleaning the Kärcher WD4 vacuum filter vary depending on whether you have mostly vacuumed dry dust (plaster, sawdust, ashes) or liquids. This is the first point to check before starting.
Cleaning the Pleated Filter After Vacuuming Dry Dust
Remove the filter from the vacuum by lifting the motor head and then releasing the cartridge from its housing. On recent WD4 models (notably the WD4 S range), the filter cassette detaches without direct contact with the dirt. On older models, you need to grasp the cartridge from the top and pull it upwards.
Hold the filter over a trash can and tap it firmly on the sides to dislodge the accumulated dust between the folds. Turn it a quarter turn after each series of taps to cover the entire surface.
What to Avoid on a Dry Pleated Filter
- No hard brush or abrasive sponge on the folds: the synthetic fibers of the filter tear and lose their fine filtration capacity
- No detergent or chemical products: they alter the coating of the filter and can create sticky residues that worsen clogging
- No compressed air blast at full power, which deforms the folds. A light and steady blow, fold by fold, remains acceptable
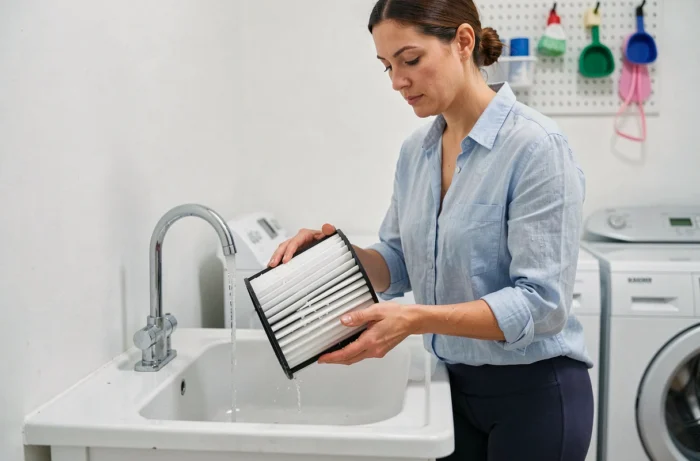
If the dust does not come off with tapping, proceed to a warm water cleaning. Rinse the filter under a gentle stream of water, allowing the water to flow in the natural direction of the folds. No soap, no vinegar.
Drying the Kärcher WD4 Filter: The Most Underestimated Step
You have just rinsed your filter or have vacuumed a spilled liquid in the kitchen. In both cases, a wet filter should never be used to vacuum dry dust. This is one of the main causes of gradual power loss in water and dust vacuums.
Why? When a wet filter comes into contact with fine dust, the particles form a compact crust on the surface of the folds. This crust hardens as it dries and becomes nearly impossible to remove by simple tapping.
How to Properly Dry the Filter
Lay the filter flat or slightly inclined, in a ventilated area at room temperature. Complete drying usually takes more than a day, depending on the humidity level of the room. In summer, placing the filter outside in the shade speeds up the process.
Avoid hair dryers and radiators. Direct heat deforms the folds of the pleated filter and can locally melt the synthetic material. A deformed filter no longer fits properly in its housing, creating air leaks and negating the filtration effect.
If you often use your WD4 in liquid mode, having a second filter in rotation is the most practical solution. One filter dries while the other works.
Kärcher Accessory Dedicated to Cleaning Pleated Filters from WD4 to WD6
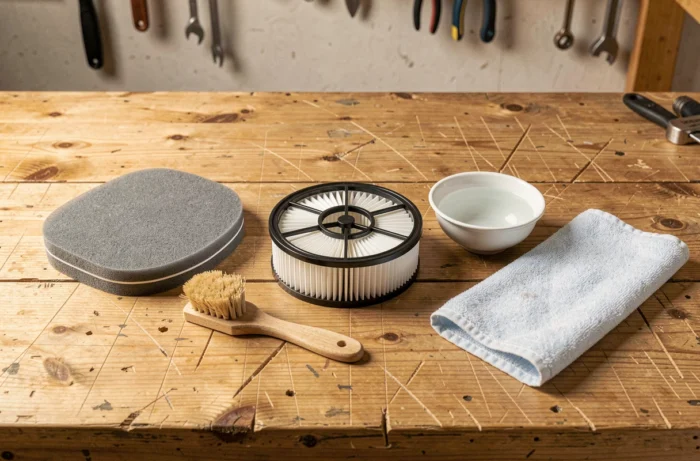
Kärcher offers a specific cleaning tool (reference 28633210) designed for the pleated filters of the WD4, WD5, and WD6 ranges. Its principle: a comb adapted to the spacing of the folds, which allows for uniform scraping of embedded dust without damaging the filtration surface.
This accessory proves particularly useful after vacuuming fine dust such as plaster, flour, or chimney ashes. These particles infiltrate deeply between the folds and resist simple tapping. The comb clears each fold individually, which neither fingers nor a cloth can do with the same regularity.
The tool does not replace the periodic rinsing of the filter, but it significantly spaces out the water washes. Fewer washes mean fewer drying cycles, thus less time without a vacuum cleaner.
Cleaning Frequency and Signs of Wear on the Kärcher WD4 Vacuum Filter
The ideal frequency directly depends on what you are vacuuming. A typical household use (floor, crumbs, pet hair) requires cleaning the filter every four to five uses. A job site with plaster or cement requires cleaning after each session.
Three signs indicate that cleaning is no longer sufficient and that the filter needs to be replaced:
- The suction power remains low even after a complete cleaning and thorough drying
- The filter shows visible tears, even small ones, on the pleated surface
- The folds are permanently deformed and the filter no longer clips properly into its housing
An original Kärcher flat pleated filter (reference 28630050) remains the most reliable choice for replacement. Compatible filters from third-party brands are available at a lower price, but their filtration density varies. Make sure the replacement filter is marked as compatible with the WD4 range.
The last point to keep in mind: cleaning the filter does not exempt you from regularly emptying and rinsing the tank. A deposit of sludge or sticky residues at the bottom of the tank releases particles that rise towards the filter each time it is turned on. Both actions go hand in hand.